

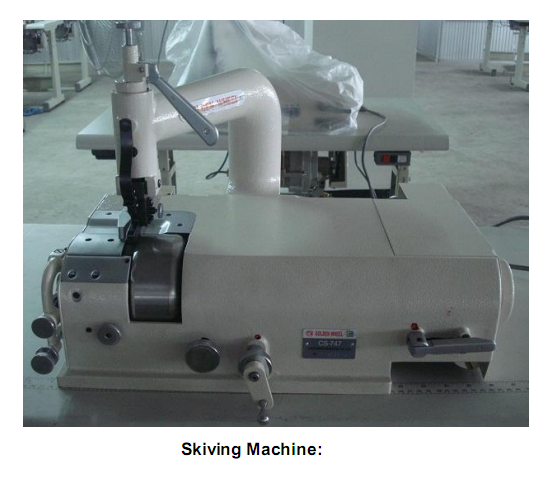
This machine is very important machine and is extensively used in leather goods manufacturing. It helps to reduce thickness of the leather components at the edges for easy folding. Only skilled persons can operate this machine as the quality of skiving depends on various adjustments and operation techniques. Different types of skiving viz. parallel skiving, channel skiving, taper skiving and fine edge skiving can be achieved
using appropriate presser foot. The skiving can be done to a width of 3mm to 50 mm
The skiving machines are built with a minimum number of moving parts which are amenable for vary fine adjustments and the operation of the machine made simple. Adjustment of moving parts is constantly required to affect different types of skiving and on different types of leathers that vary in thickness and softness. It is used …
- For uniformity in quality.
- For saving in time.
- For mass production.
- For what can’t be done by hand.
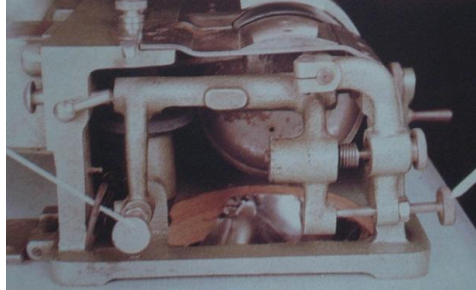
Various Parts of Skiving Machine:
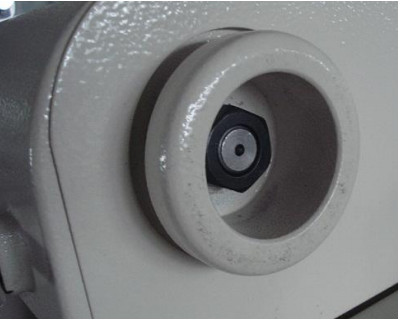
1. Sharpening Stone / grinding wheel:
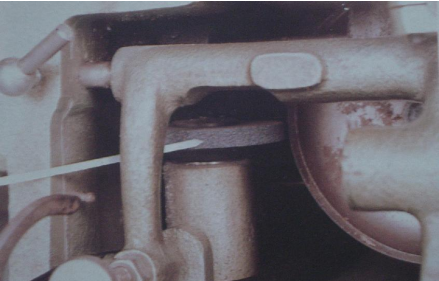
A small fast rotating grinding stone. This is used to sharpen the knife, and should always spin away from the knife edge. The sharpening stone is driven by an endless woven flat belt.
2. Bottom feed roller tension hook:
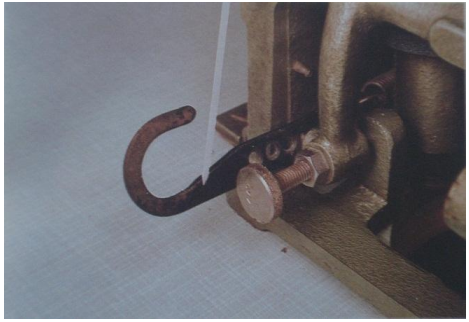
The tension is caused by a spring on the other end of the hook. To adjust the tension, move the hook from one slot to the next. Tension is required to hold the feed roller close to the knife.
3. Guide:
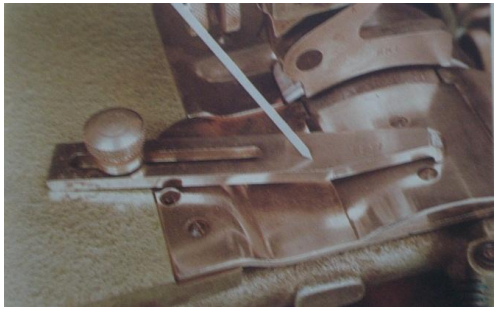
It determines the width of the skiving.
- Guide position forward for decreased width of skiving.
- Guide position backward for increased width of skiving.
4. Pressure foot:
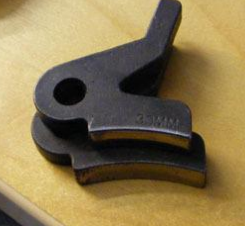
Determines the thickness to be skived for a given type of skive. These are inter-changeable by a simple device for skiving narrow edge, deep curvature (grooving) and for skiving patent leather. Normally the width of the skive is the same as width of the pressure foot. The width of skive is determined by the position of the guide. The thickness of the cut is regulated by adjusting the screw at the top of the pressure foot holder.
5. Pressure foot adjusting screw and locking nut:
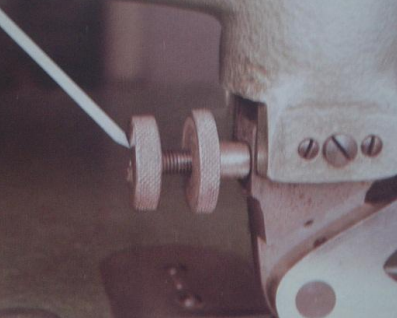
- To adjust the pressure foot undo the locking nut by turning anti-clockwise.
- Turn the adjusting screw clockwise to obtain a wider, thinner skive.
- Turn the adjusting screw anti-clockwise to obtain a narrower, thicker skive.
- Retighten the locking nut by turning clockwise.
- When adjusting the pressure foot it is not to come in contact with the knife or feed roller.
6. Pressure foot height adjusting screw:
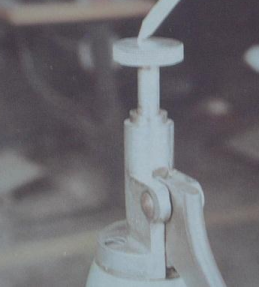
- Turn the height adjusting screw anti-clockwise to obtain a thicker edge.
- Turn the height adjusting screw clockwise to obtain a thinner edge.
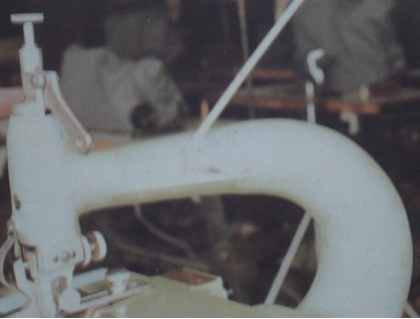
7. Arm
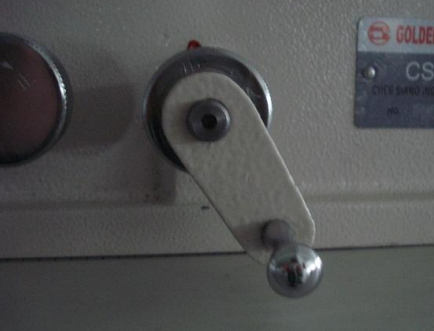
8. Material release lever:

- If materials should become jammed in the machine, lift up the material release lever.
- You can then withdraw the material from the machine.
- Return the lever to its original position.
9. Bed:
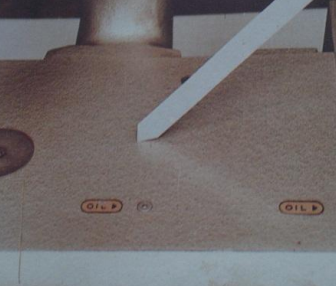
This is a resting place for completed work.
10. Belt cover:
- Safety covers to protect the operator from the machine’s pulleys and belts.
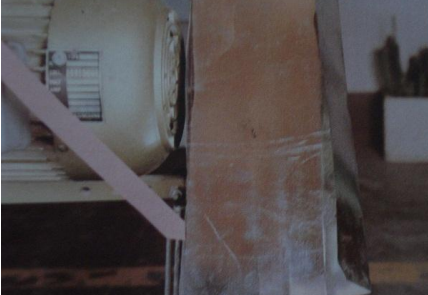
11. Feed belts:
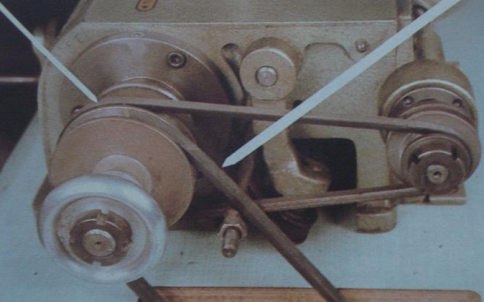
To change the machine feeding speed in relation to the knife speed. This can be adjusted by changing the pulley ratio of the feed roller drive belt.
12. Knife drive belt:
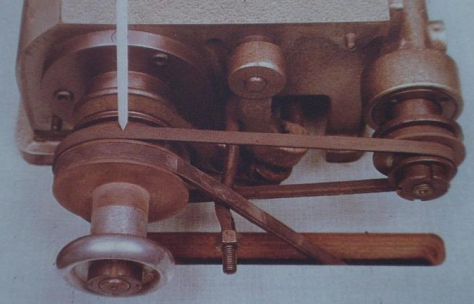
13. Sharpening stone drive belt:

14. Hand wheel:
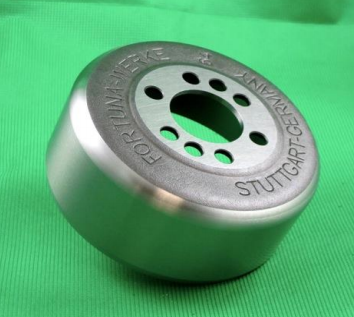
15. Knife: Cylinder knife/Bell knife: A fast rotating circular knife of which the cutting edge is ground to a hollow level on the outer surface. The bell knife is made of a special chromium alloy of 12.0 cm diameter and 5.2 cm width.
16. Knife adjusting lever:
17. Sharpening stone adjusting thumb nut
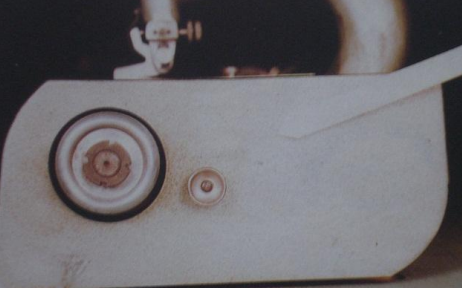
18. Feed Roller:
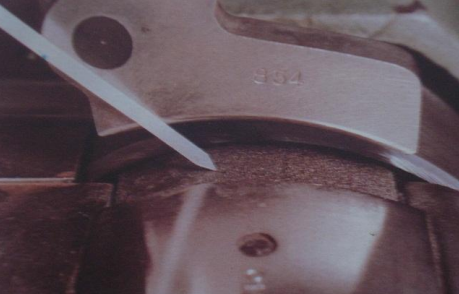
A slow rotating roller made of abrasive material, which conveys the leather to the knife edge. The feed roller should never touch the bell knife or the pressure foot.
19. Feed roller adjusting screw
20. Treadle

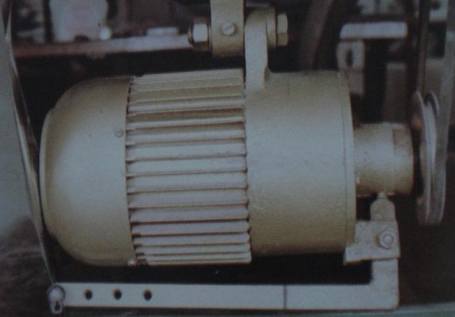
21. Motor
22. Waste slide tray
23. Metal waste bin

Tools:
1. Dressing tools: This tool is used to clean and reshape the edge of the sharpening stone.
2. Adjustable spanner: To unlock and lock the feed roller adjusting screw locking out.
3. Scissors: For undoing work bundles and leather cutting.
4. Ruler: For accurate measurement of scarves.
5. Thickness gauge:
- Check the calibration of the gauge, by closing it nothing between, the dial should register 0.
- Place the material to be measured flat on the base.
- Push down the anvil firmly and read the measurement of the gauge.
6. Time clock: the clock is used for exercise timing.
Operation of Leather Skiving Machine:
- Turn on the machine.
- Make sure the sharpening stone is not touching the knife.
- Check that the pressure foot is not touching the feed roller.
- Check that the knife is not touching the feed roller.
- Position the guide.
- Depress the treadle.
- Stack your work on the benchtop to the left of the machine.
- Feed-in the leather with the grain side up.
- Keep the leather to the guide.
- Run straight through.
- Place the skived place of leather upside down on the machine bed.
- Pick up the next piece and skive as before.
- When you have completed all pieces remove the pressure from the treadle to stop the machine.
- Inspect, stack and tie up your work.
Safety requirement:
- Switch off the machine when not in use.
- To remove jammed material use a stick or brush.
- Please scraps in a metal dust bin at the end of the day for a fire hazard.
- Keep your work area tidy.
- To protect the operator from the spinning belts use belt guard.
- You should sit squarely on your chair within reach.
- Know your fire drill
- Do not try to make your own electrical repairs.
- Don’t use loose dresses.
- Keep your personal safety
- Your movement easily in working place.
- When you working in the machine not to be careless
Reference:
- MANUAL FOR LEATHER ACCESSORIES AND LEATHER GOODS ..SUBRAMANIAN NATESAN
- CFTC class note
- National Technical and Vocational Qualification Framework .. Notes